|
|
Using DMX512 within Showtime |
|
|
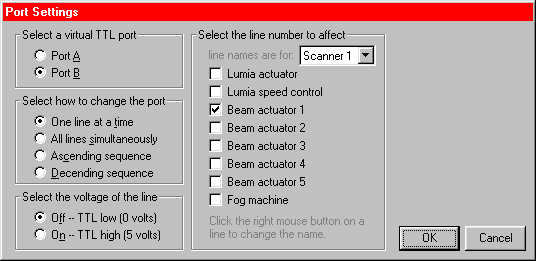
There are two ways to use DMX512 output within Showtime. The first way is to use TTL and Aux Out effects, just as these were used in the older LD (QM32) system. The second way is to create a "DMX frame" and drag-and-drop this onto the timeline. This "DMX-as-a-frame" idea is unique to Showtime, and has many advantages. Simple TTL and Aux outputYou can use the TTL and Aux Out effects, just as these were used in the older LD (QM32) system. In the Effect Editor, you simply select the TTL or Aux Output action and set the parameters to behave as you like. When these effects are dropped onto the timeline, the TTL and Aux controls will then be routed to the DMX output channels set by the TTL, Aux, Shutter control tab.
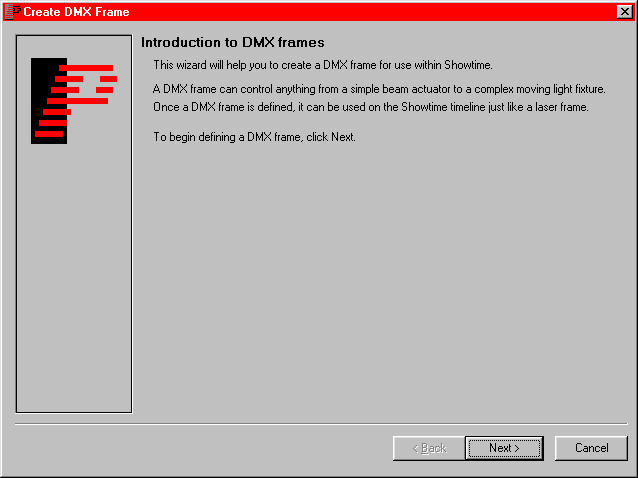
Creating a DMX frameYou can also create a DMX frame and drag and drop this onto the
timeline just like any other frame. A DMX frame is nothing more than
a special frame that has all of the characteristics of a normal
laser frame, but it also contains additional DMX information.
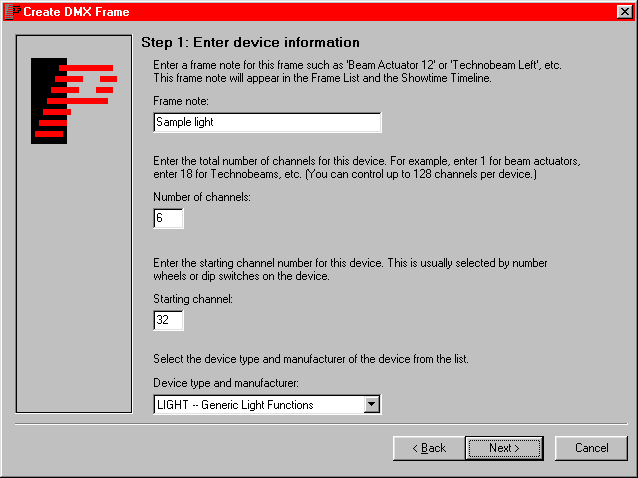
Like the other wizards in Showtime, this walks you through the creation of a DMX frame. Many steps are automated and all you need to do is click "Next". Step 1: Entering basic device informationThe first step in creating a DMX frame is to enter some basic device information.
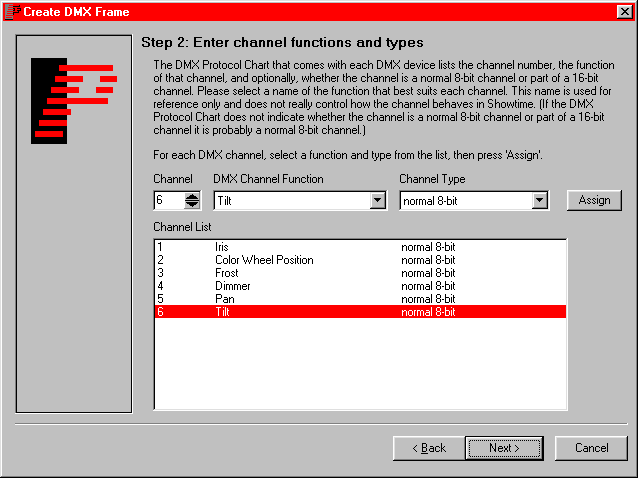
Step 2: Entering channel informationThe next step in creating a DMX frame is to enter information about the channels. This information can be found on the DMX channel assignment chart that comes with the device. There are also sources on the Internet with this information To enter information about the channels, you basically select a
function for each channel and press 'Assign'.
Entering additional information about devicesIn the remaining steps of the DMX Wizard, you provide additional information about how this DMX device will be controlled by LD and Showtime. The wizard can automate most of this process by assigning default values based on the channel information provided in step 2. For simple devices like simple lamps, beam actuators and fog machines, the default values will work fine. For more complex devices like moving light fixtures, the default values serve as a great starting place, but you may need to edit the default values associated with channels that control "color wheel functions", "gobo wheel functions", and "control channels". Be sure to see the DMX channel assignment chart for the device for which you are creating this frame. < Previous page: Enabling DMX in LD2000 Next page: Troubleshooting DMX > |


